
So you've found the most beautiful wedding invitation suite, the colors are perfect, the fonts are dreamy, and your heart is doing that happy flutter. Then comes the question: can I just print these at home?
Friend, I've been in the stationery world since 2001. I started my career doing traditional paste-up, cutting and waxing paper by hand, before digital design was even a thing. So when I tell you I understand the craft behind a beautifully printed piece, I mean it. And I'm going to give you the honest, practical answer that most template shops won't bother to share.
Yes, you can print at home. But let's talk about how to do it well.
First, Let's Talk Paper Weight
Paper weight is measured in pounds (lb) in the US, and it tells you how heavy, and therefore how substantial, a sheet feels in your hand.
Here's a quick cheat sheet:
- 20 lb bond — This is standard copy paper. You know that slightly flimsy feeling when you grab a sheet from the office printer? That's 20 lb. It works in a pinch, but it telegraphs "home printed" immediately. Skip it for invitations.
- 24 lb bond — A noticeable step up. Slightly stiffer, colors print a little richer. Affordable and widely available.
- 28–32 lb bond — Now we're talking. This is the sweet spot for home printing. It feeds smoothly through most home printers, holds color beautifully, and feels substantial when your guests hold it.
- 65 lb cardstock — Lovely weight, but many home inkjet printers will jam or struggle. Test with a single sheet before you commit to a full run.
- 80 lb cardstock and above — Best left to a professional print service. Most home printers simply aren't built to handle it.
The rule of thumb: Stay in the 28–32 lb range for home printing. You'll get a beautiful result without fighting your printer.
What Your Home Printer Can Actually Handle
Not all home printers are created equal, and being honest with yourself about your equipment is half the battle.
Inkjet printers are wonderful for color richness and photographic detail. The downside? Ink can smear slightly if the paper isn't fully dry, and humid environments (hello, summer weddings) can affect the finish. Allow prints to dry flat for at least 15–20 minutes before stacking.
Laser printers produce crisp, smear-proof results that look sharp and professional, especially for text-heavy designs. Color laser printers are excellent for most suites, but they can struggle with very dark, ink-heavy designs. (More on that in a moment.)
One thing both printer types hate: Thick cardstock. If your paper is over 65 lb, test a single sheet first. Feed it manually if your printer has that option, and watch for jams on the output side.
Which Suites Print Beautifully at Home
Here's where I'll give you something most template shops won't, an honest guide to which designs in the Heritage Collection are well-suited for home printing, and which ones deserve the professional treatment.
These suites are excellent candidates for home printing:
- Parchment — Warm, neutral tones with minimal ink coverage. Probably the most forgiving of the entire collection.
- Sage Green — Muted, desaturated greens print predictably and look lovely on 28–32 lb paper.
- Coastal — Airy beach palette, light coverage, easy for both inkjet and laser.
- Irish Inspired — Soft greens translate well at home.
- Southern — Warm cream tones, classic and printer-friendly.
- Tuscan — Warm, earthy tones that hold up beautifully on home printers.
- English Garden — Botanical lightness, approachable ink coverage.
- Black and White — Counterintuitively, this one is great for laser printing. Pure black, no color mixing, crisp and clean.
Proceed with some caution:
- French Blue — Most blue tones print well, but rich saturated blues can shift slightly depending on your printer's color profile. Do a test print first.
- Terracotta — That beautiful burnt orange can sometimes read more muddy brown on home printers. Calibrate your color settings and test before printing a full set.
I'd leave these to the professionals:
- Espresso — Deep, rich brown tones with heavy ink coverage. Even my high-end laser printer doesn't do this suite justice at home. This one deserves professional printing.
- Black Botanical — Dark backgrounds and detailed botanicals require consistent, heavy coverage that home printers simply aren't built to deliver reliably.
For Espresso and Black Botanical, and honestly, for any suite where you want the absolute best result, I love Prints of Love. They produce stunning quality and ship quickly. Worth every penny for your invitations.
The Designer Trick That Makes Everything Look More Expensive
Okay, here's my favorite tip, the one that genuinely makes home-printed invitations look like they came from a boutique stationer.
Mount them.
Here's exactly what to do:
What you'll need:
- Your printed invitation
- A paper trimmer (not scissors, a clean, straight edge matters)
- A solid color cardstock in a coordinating color (I suggest pulling from your envelope color or a tone within the suite)
- A glue stick or double-sided tape runner
The process:
- Trim all four sides of your printed invitation by ¼ inch. This removes the unprinted border that screams "home printed" and gives you four fresh, clean edges.
- Choose your backing cardstock. Pick a color that complements your suite: soft ivory behind the Parchment suite, deep hunter green behind Irish Inspired, warm tan behind Tuscan. This layered backing is called a mat, and it's what stationery designers use to add dimension and sophistication.
- Adhere your trimmed invitation to the center of the cardstock, leaving an even border all the way around.
- Trim the entire layered piece to 5×7 inches. A good paper trimmer makes this easy and ensures your edges are perfectly square.
The result? A layered, dimensional invitation that looks designed rather than downloaded. The contrast between the printed piece and the backing adds visual weight and signals quality before your guest even reads a word.
A Few More Tips Before You Print
- Always do a test print on regular copy paper first to check alignment, sizing, and color before using your good paper.
- Print in the highest quality setting your printer allows. The difference between "normal" and "best" quality is significant.
- Let prints dry completely before stacking or handling, especially with inkjet.
- Cut with a sharp blade. A dull trimmer blade creates rough, fibrous edges that undermine everything. Replace your blade if it's been a while.
- Handle finished prints by the edges. Fingerprints on a fresh print are heartbreaking.
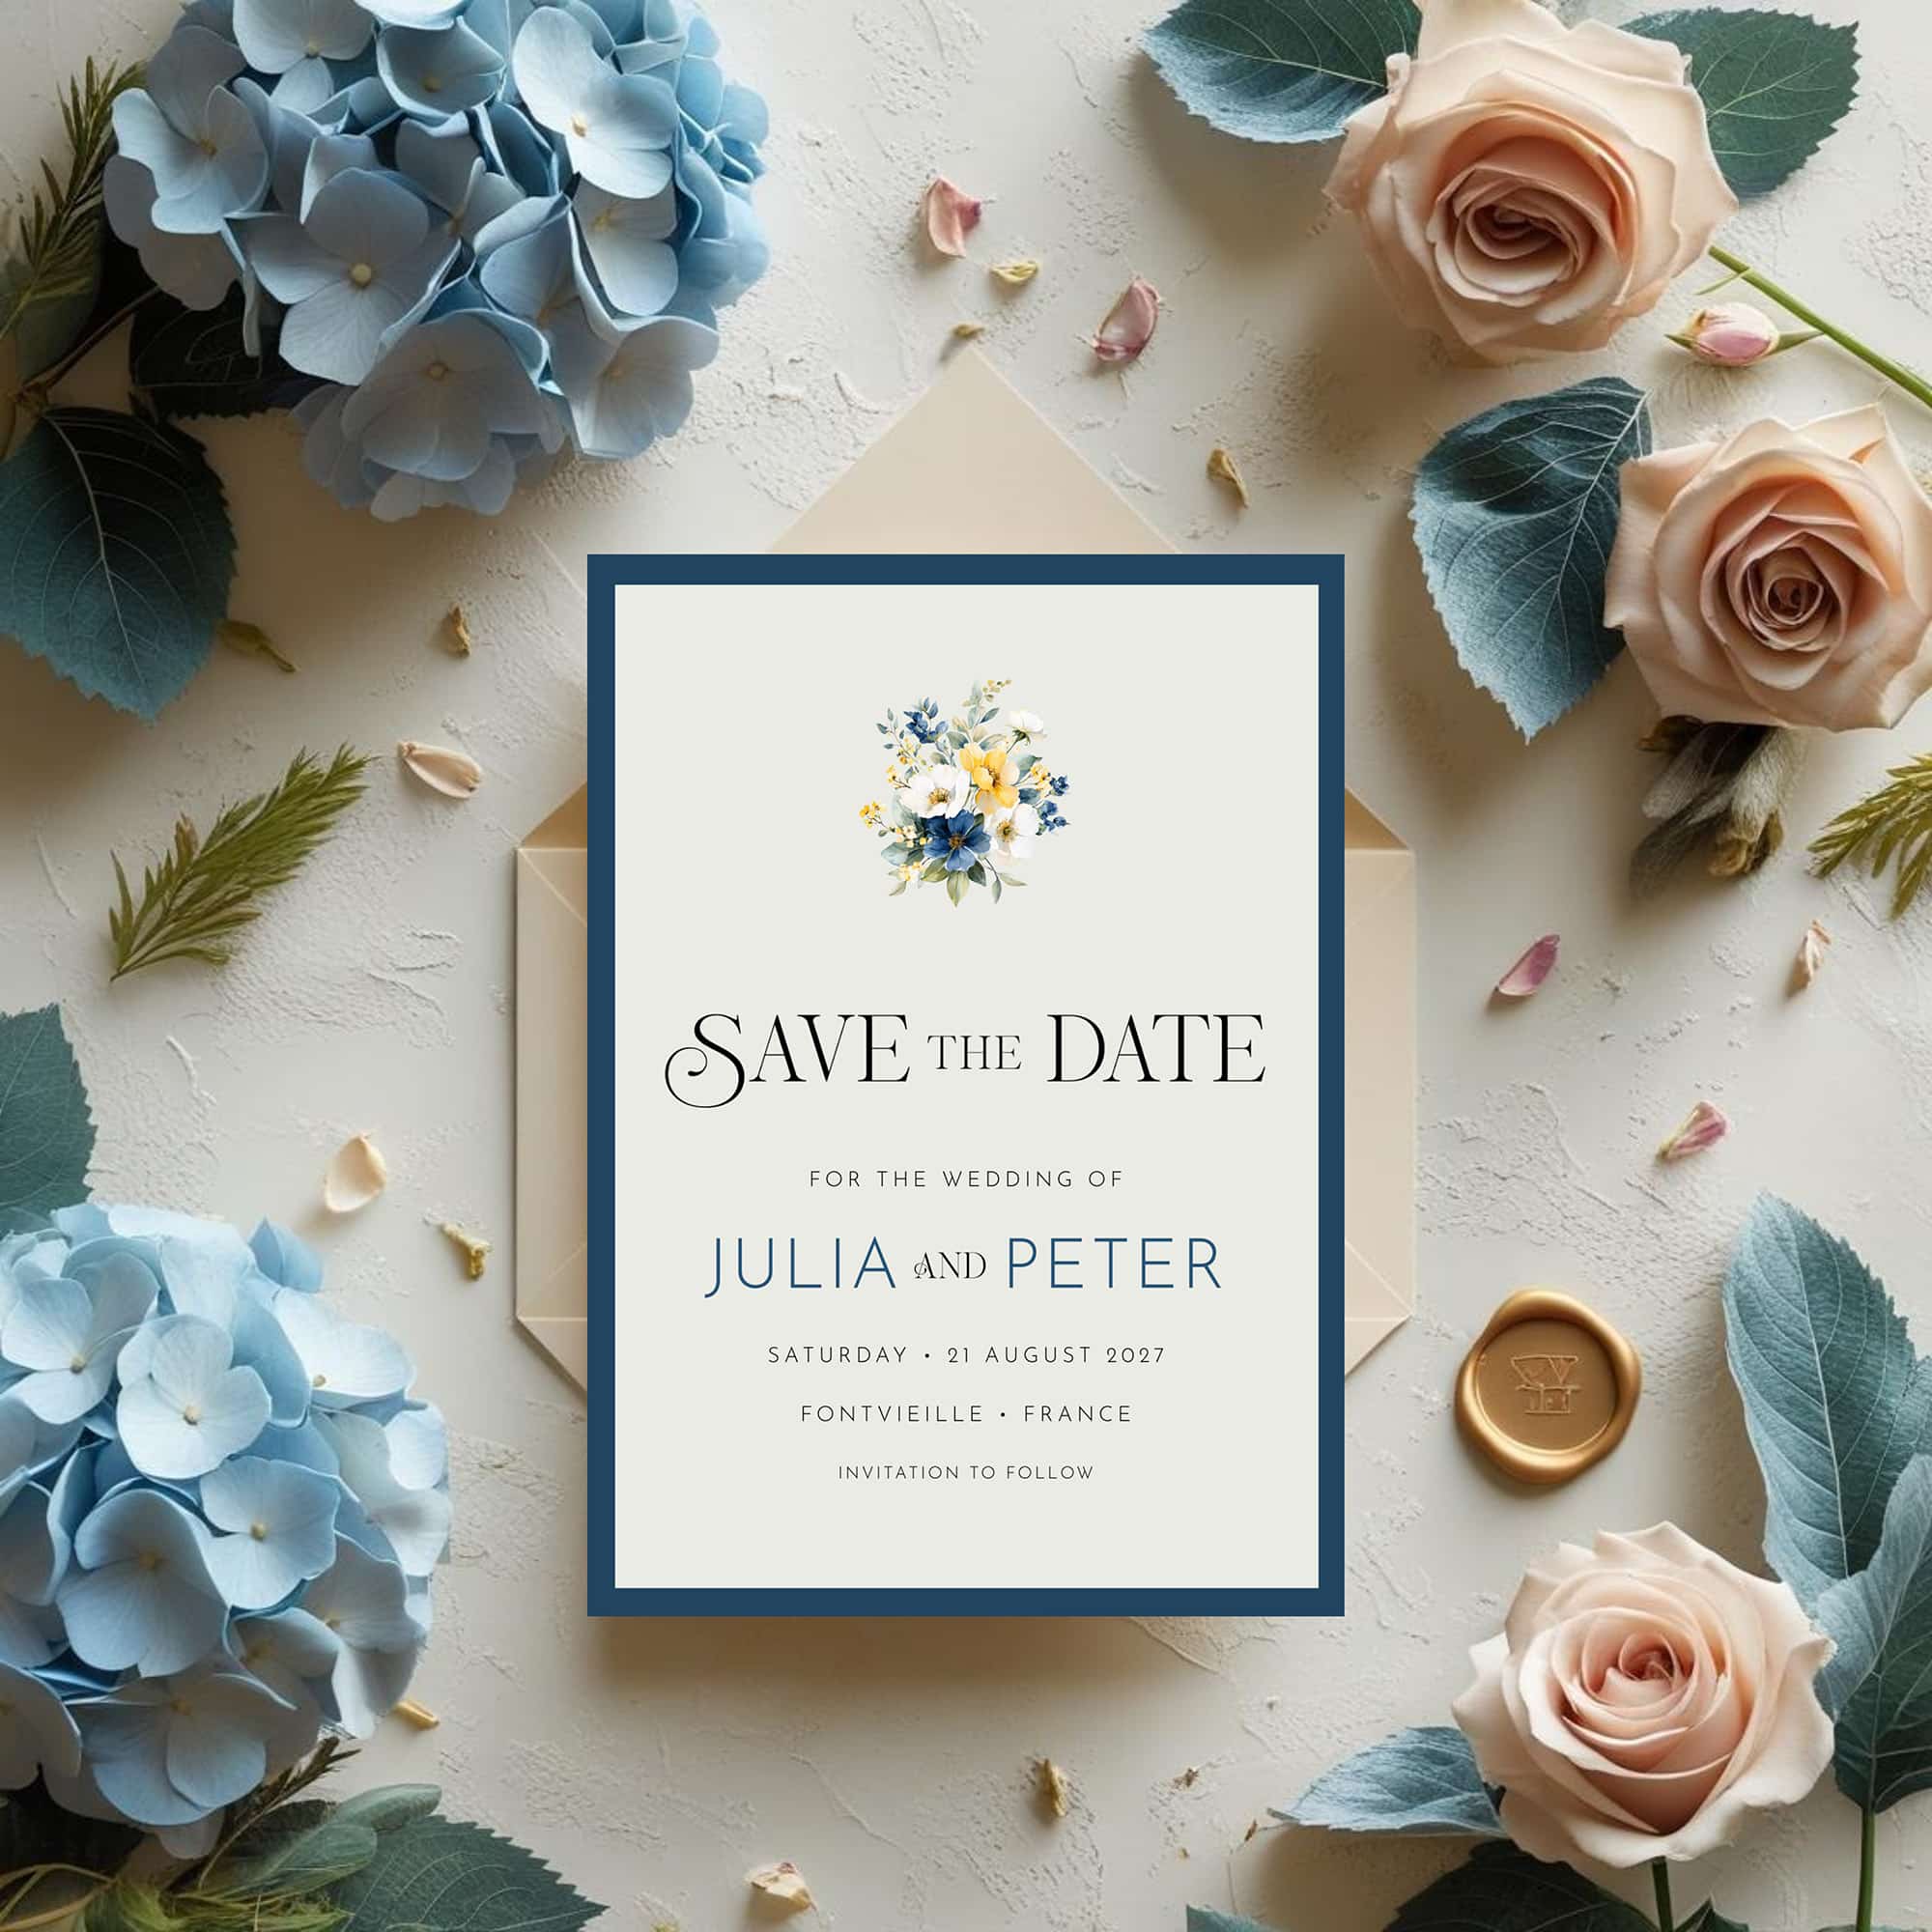
Not Ready to Commit to a Full Suite? Start With a Save the Date
Here's a little secret that savvy brides don't always know: your Save the Date is actually the perfect way to test your home printing setup before you invest in printing your full invitation suite.
Our Save the Date templates are available individually for just $12.99, one for each suite in the Heritage Collection. They're fully coordinated with the full suite, so everything matches seamlessly when you're ready to print your invitations. But more than that, a Save the Date gives you a low-stakes opportunity to:
- Test your paper — see how your chosen weight actually feels and prints before ordering a full ream
- Dial in your color settings — get your printer calibrated to the suite's palette on a smaller piece
- Practice the mounting technique — nail your trimming and backing on a single card before you tackle a full set of invitations
- Fall completely in love with how it looks in real life before you commit
Think of it as a trial run that also happens to delight your guests and get your wedding date on their calendars early.
Once you're happy with the result, and you will be, your full suite is waiting with coupon code HERITAGE10 for 10% off.
The Bottom Line
Home printing can absolutely produce beautiful invitations, especially when you choose a print-friendly suite, use quality paper, and finish with the mounting technique above. The key is knowing your printer's strengths, respecting the paper weight limits, and taking those few extra minutes to mount and trim for that elevated, boutique look.
And if you're working with a darker, more dramatic suite? There's no shame in sending those to the professionals. Your invitations are the first impression of your wedding — they deserve to look exactly as beautiful as you imagined.
Have questions about printing your Patti & Hank suite? Drop them in the comments, I'm always happy to help.
Frequently Asked Questions
One Extra Step. A Completely Different Look.
0 Comments